Table of contents
No headers To configure or enable/disable a plugin, it must be loaded:
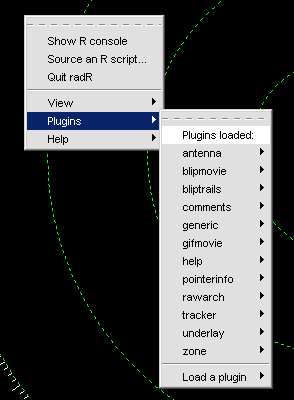
- click the right mouse button in the plot window to pop-up the radR menu:

(you can right-click in the "background" area of most radR windows to pop up the radR menu)
- choose the Plugins entry:

- choose a name from the Plugins loaded list (i.e. those plugins already loaded into radR) to pop up its menu for configuration and enabling/disabling
or
- choose Load a plugin to load a plugin into radR. Its name will then be added to the Pluginwindow
and its menu will be displayed.
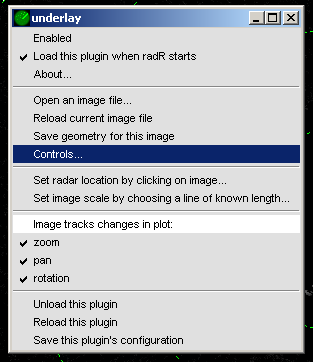
Here is an example showing the underlay plugin:
- view and detach the underaly plugin menu by selecting the dashed line at its top:

- enabling/disabling: the plugin is (dis) enabled by (un) checking the Enabled item. Some plugins are always enabled when loaded, but most can be disabled.
- unloading/reloading: unloading a plugin is similar to disabling it, except that unloading the plugin frees memory and file resources, unloads any shared libraries required by the plugin, and breaks connections it might have established to external servers. Also, if you have reconfigured a plugin, those changes will be lost when you unload it, unless you Save this plugin's configuration.
- configuring: plugins have three types of configuration:
- items on the menu (or a submenu) which can be checked or unchecked; some items can be checked independently of others, but some form groups from which only one item can be checked. In the underlay plugin, you can independently choose which changes to the display are reflected in the underlay image (pan, zoom, rotation)
- selections that pop up a file or directory selection dialogue; e.g. the "Open an image file..." choice on the underlay menu
- the Controls... entry, which pops up a window where numerical parameters (or sometimes R expressions) can be entered.

For example, the underlay controls dialogue allows you to shift, scale, and rotate the underlay image to match your radar data:


